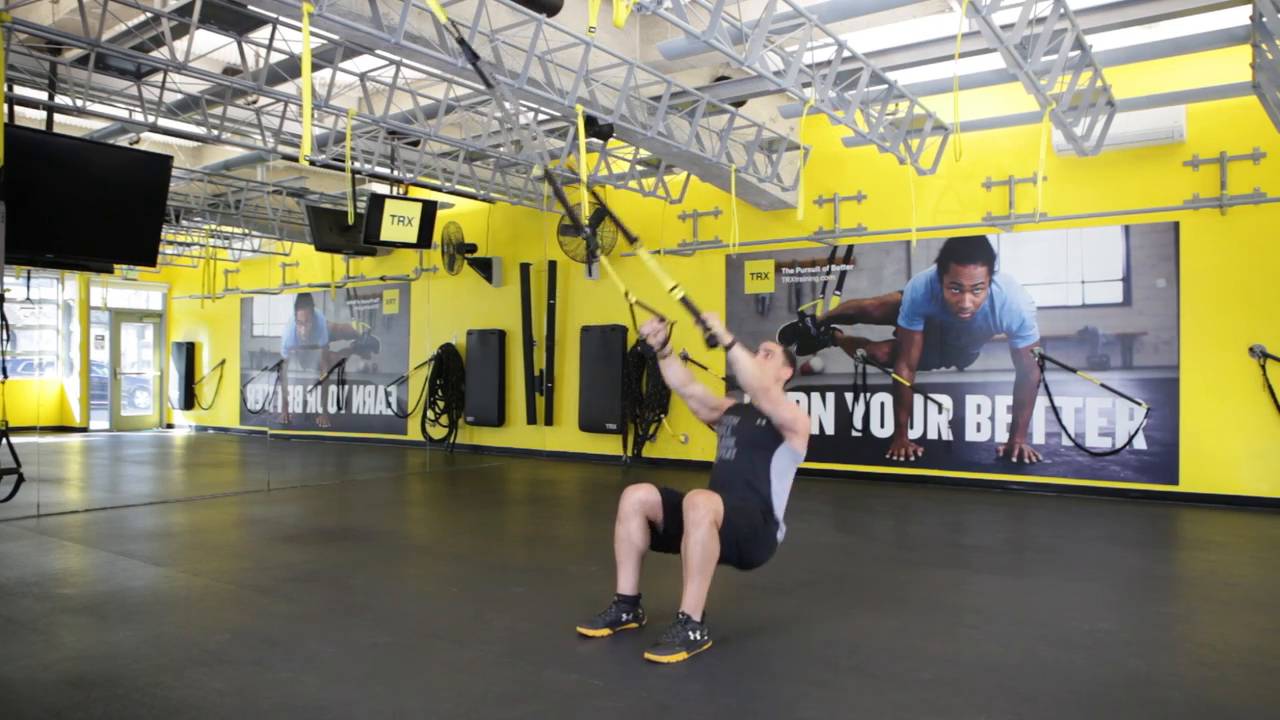
Dr. Jennifer Reiner incorporates the TRX Suspension Trainer into her sports rehabilitation services at Todd Durkin’s facility, Fitness Quest 10 in San Diego. Here she demonstrates her top five exercises for individuals rehabbing a lower extremity injury.
- Begin with the Suspension Trainer in the mid length position facing the anchor point. Elbows should be under the shoulders and the stance leg should be centered to the anchor point. You may use the opposite heel on the ground for added support.
- Lower the hips down and back, maintaining your weight over the stance leg with your chest tall.
- Return by driving through the mid foot and heel back to your starting position.
2. TRX Balance Lunge
- Maintain your weight on the original stance leg from the TRX Single Leg Squat. Elbows will remain under your shoulders to start.
- Drive the opposite leg back, lowering the knee towards the ground. The knee should hover above the ground without the foot touching.
- Keeping your chest tall, drive through the mid foot and heel of the front leg, returning to your starting position.
3. TRX Step Side Lunge
- Continue to challenge the same leg from the previous two exercises. Begin with the elbows under the shoulders and feet together.
- Step to the side moving the same leg from the TRX Single Leg Squat and TRX Balance Lunge that was your stance leg. Lower the hips toward the ground, keeping the opposite leg straight.
- Once at the bottom of the lateral lunge, push off the mid foot and heel to return to your startng position.
4. TRX Lunge
- Begin with the Suspension Trainer at the mid calf position in single handle mode facing away from the anchor point. Be sure the suspended foot is centered to the anchor point with your shoulders over your hips. For added stability, place both arms directly in front overlapping while providing an isometric contraction to engage the core.
- Drive the suspended knee back, lowering your hips until the front knee is at 90 degrees.
- Pushing off the front foot, drive through the mid foot and heel as you extend the hip.
5. TRX Abducted Lunge
- Maintain the same foot in the Suspension Trainer and turn to face sideways to your anchor point. Again for stability, create tension through the torso by extending the arms in front with an isometric contraction.
- Drive suspended leg to the side and lower the hips until the front knee reaches 90 degrees.
- Pushing through the mid foot and heel of the stance leg, return to your starting position.
The first three exercises may be used in succession to challenge stability, strength and mobility. Each exercise progressively gets easier, in terms of the muscle activation and stability required, allowing the patient/client to continue exercising as the lower extremity begins to fatigue. The final two exercises are for the advanced client and require more strength and motor control. Depending on your goals for your client, you may perform these exercises for time or repetitions.
Dr. Jennifer Reiner is the chiropractor for Water and Sports Physical Therapy providing sports rehabilitation services Todd Durkin’s facility, Fitness Quest 10. She is also a TRX Sports Medicine instructor. Dr. Jenn obtained a Bachelor's of Science Degree in Exercise Physiology from the University of Florida and went on to pursue a Doctor of Chiropractic degree from Palmer College of Chiropractic West. As a member of the Palmer West Sports Council, Dr. Reiner focused her studies on sports injuries and rehabilitation.