If your crow doesn’t flow, your back bend could be bendier, or your warrior is too wobbly, the solution might be hanging right in front of you. A TRX Suspension Trainer™ can help you stabilize many yoga postures, letting you focus on achieving proper form.
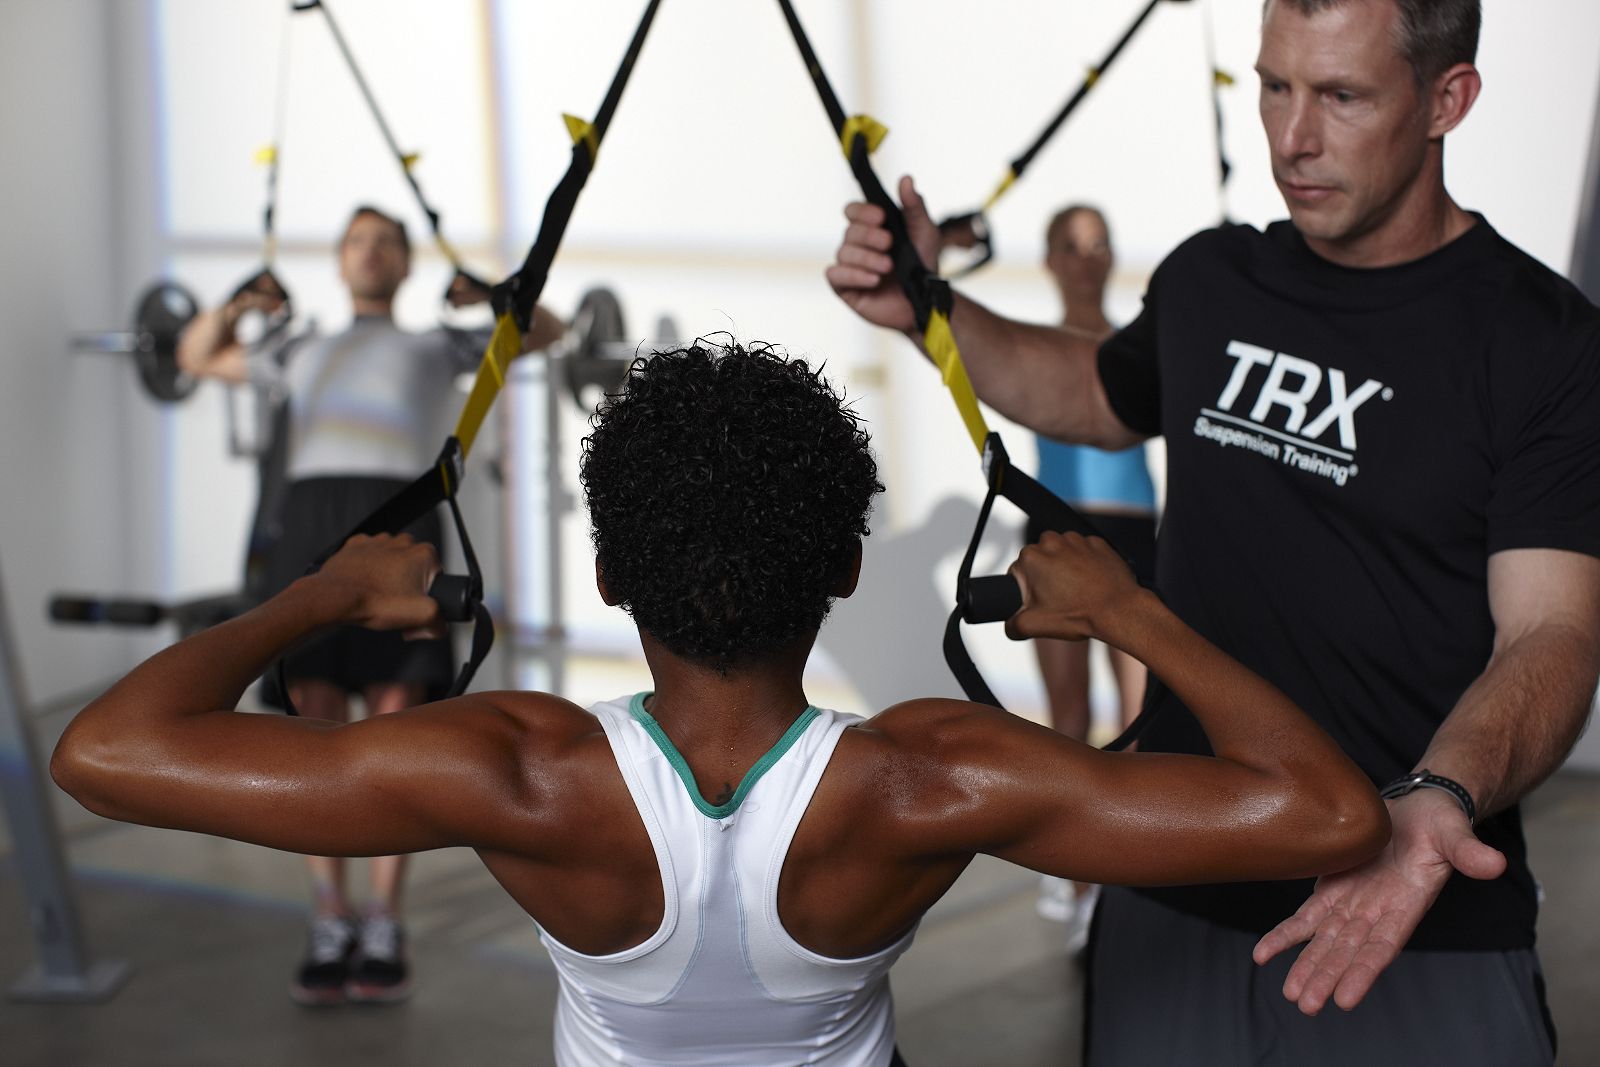
When you think of the Suspension Trainer, strength is probably the first thing that comes to mind. It’s reasonable. The TRX Straps are known for an all-core, all-the-time workout. You can use them for many of the same exercises you may traditionally do with dumbbells or cables. But the Suspension Trainer is also a great way to increase your stability.
And stability is at the core of yoga.

As TRX and Yoga instructor Krystal Say explained, yoga postures may require strength, but the practice is more focused on stabilization. For example, in a yoga handstand, you are stabilizing through your arms, shoulders, legs, and core to maintain the pose. “It is total body integration from the soles of your feet, to the tips of your fingers. You have to have a connection to be able to raise and contract your muscles, to create a sense of stability,” Say said.
When you add a Suspension Trainer in yoga, the straps absorb part of the stability responsibility. It’s as much about giving your mind a break as giving your body a boost. Think of it as training wheels on a bike, or a harness in rock climbing: the Suspension Trainer empowers you to safely focus on the mechanics and improve your practice.
Ready to go all-in on your TRX for Yoga routine? Wondering which yoga-inspired TRX moves best match your practice level? Take our quick assessment quiz for personalized pose recommendations that will help you advance safely. Try these moves to level up your yoga practice.
TAKE OUR TRAINING QUIZ
Hip Hinge Flow
TRX Training Club℠ instructor Stephanie Warwick cooked up this sweet hip flexor release to keep your back and legs happy. Here, the straps support the weight of the upper body, letting you focus on deepening the release within your hips and lower body.
First, start with your TRX Suspension Trainer fully shortened. Stand facing the anchor point with your feet at least hip-distance apart. Press your palms down onto the handles of your straps, and hinge forward. As you hinge, press the handles forward. As you return to an upright standing position, round your back slightly—like a cat pose—before lengthening your spine back up. Flow for 2-3 reps, then pivot your heels slightly so that your toes are pointing in. You’ll repeat the hinge motion for 2-3 reps before pivoting your heels so your toes face out. Repeat for another 2-3 reps.
Feel free to play with this flow, repeat all three stances, if you wish.
For the second part of the hip release, start seated on the ground facing the anchor point, with your legs in a butterfly position. (That means legs in front, knees bent outward, and soles pressing against each other in the middle.) Extend your arms straight ahead and press your palms into the foot cradles. Hinge forward, pressing the foot cradles away from your body. Like the first move, you’ll slightly round your back as you straighten back to a seated position, pulling the handles toward you. Continue for 2-3 reps.
For a variation on this flow, leave your left leg in front of your body, and shift your right leg behind you; still keeping the knee bent. (Get both legs as close as you can to 90-degree angles.) Repeat the same hinge and return post for 2-3 reps, then switch legs.
Warrior Twist
In our second move, TRX Master Trainer Kari Woodall demonstrates how to use the Suspension Trainer to support a Warrior modification.
Begin with your straps adjusted to mid-length in single-handle mode. Stand to the left of your Suspension Trainer with your left foot forward, and your right foot back. (This will be similar to Warrior I, except both sets of toes should be facing forward.) Take one of the handles of your straps in your right hand.
Facing forward, bend both knees to drop into a lunge, while sweeping your arms out to the sides to end straight overhead. This should take you to a lunge position, with your back leg hovering just above the floor or mat. Drive back up to your modified Warrior I, then hinge forward, and lift your arms—palms facing down—straight behind you. (The end point for your arms should be similar to the terminal point for a tricep kickback.)
Next, repeat the lunge you started with, but this time—while holding the lunge position—sweep your arms down to the left, back up overhead, and down to the right, before straightening back to standing. Continue the progression for 2-3 reps on your first side, then switch to the second side.