News
STMY
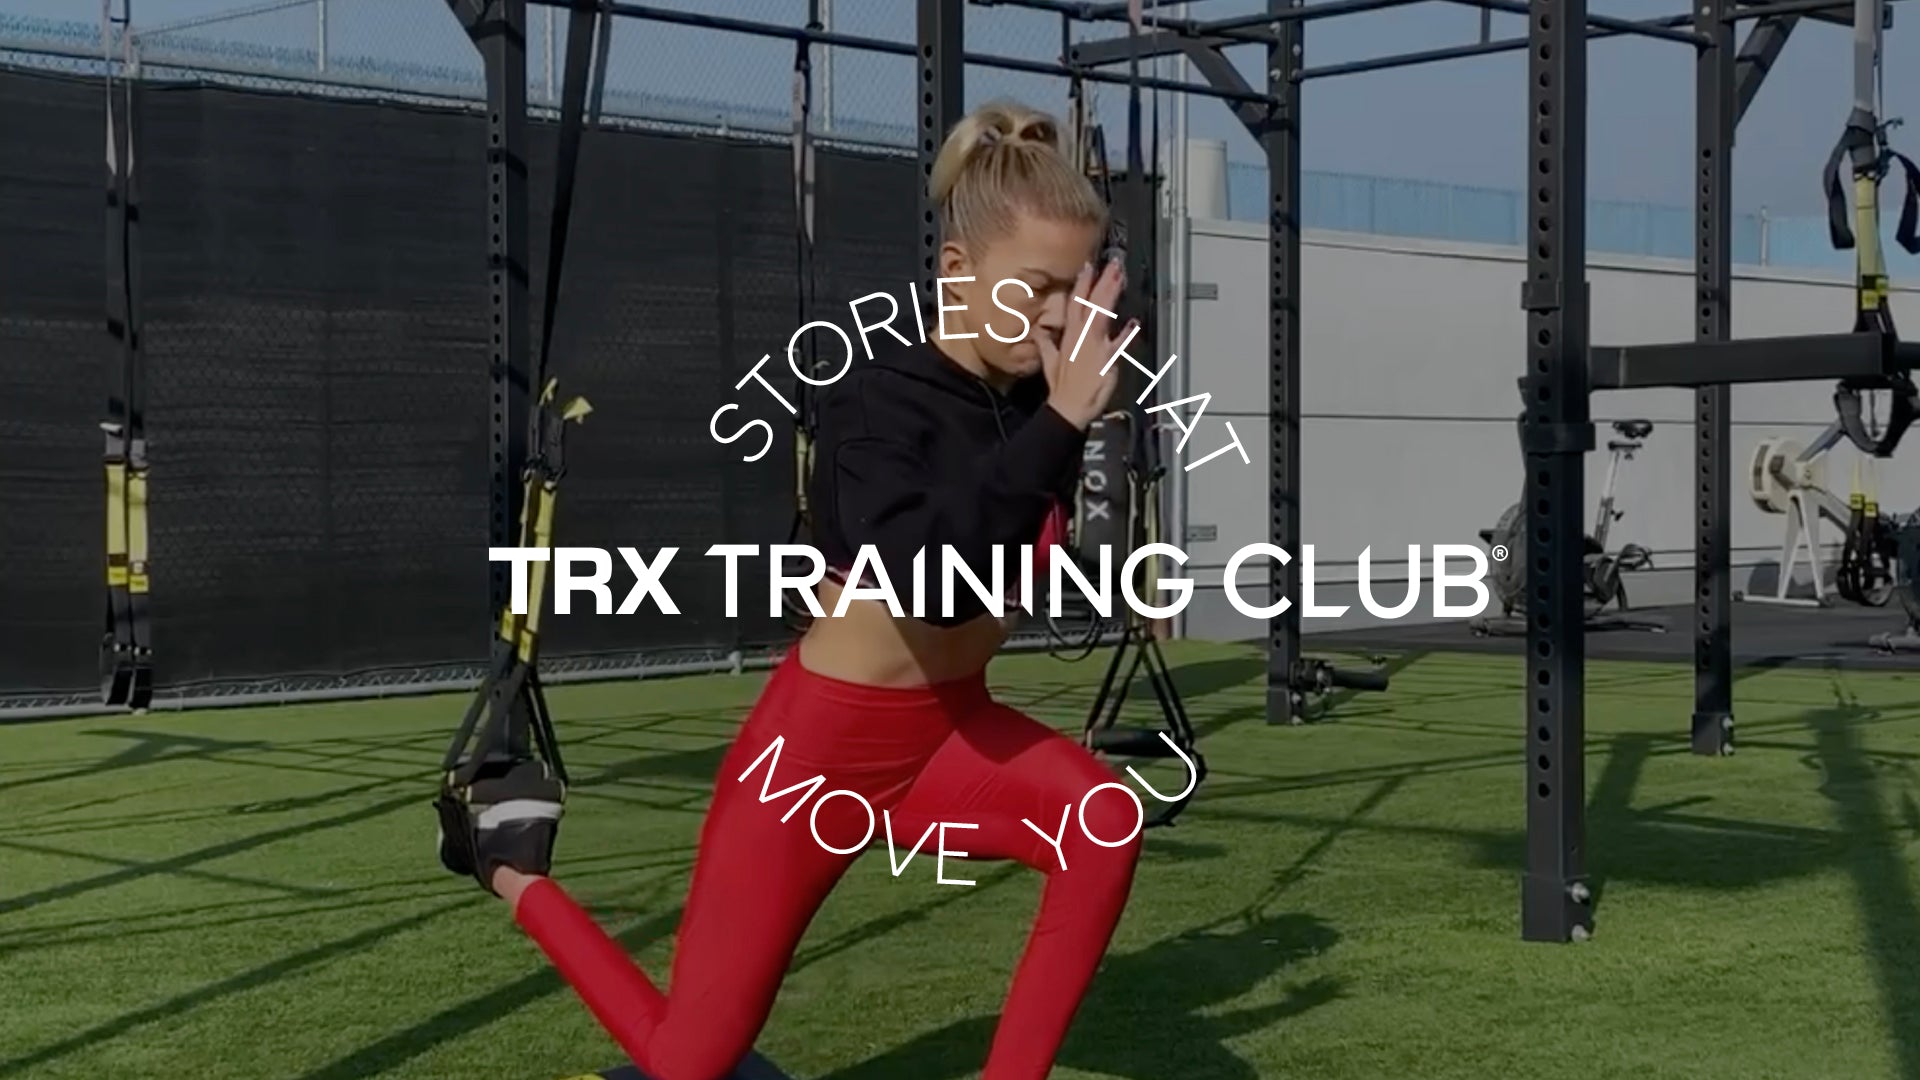
STORIES THAT MOVE YOU: MORE THAN JUST A QUICK WORKOUT
“To move to mostly TRX was kind of eye-opening; that it could still be hard and not have all this gear and weights to deal with."
STMY
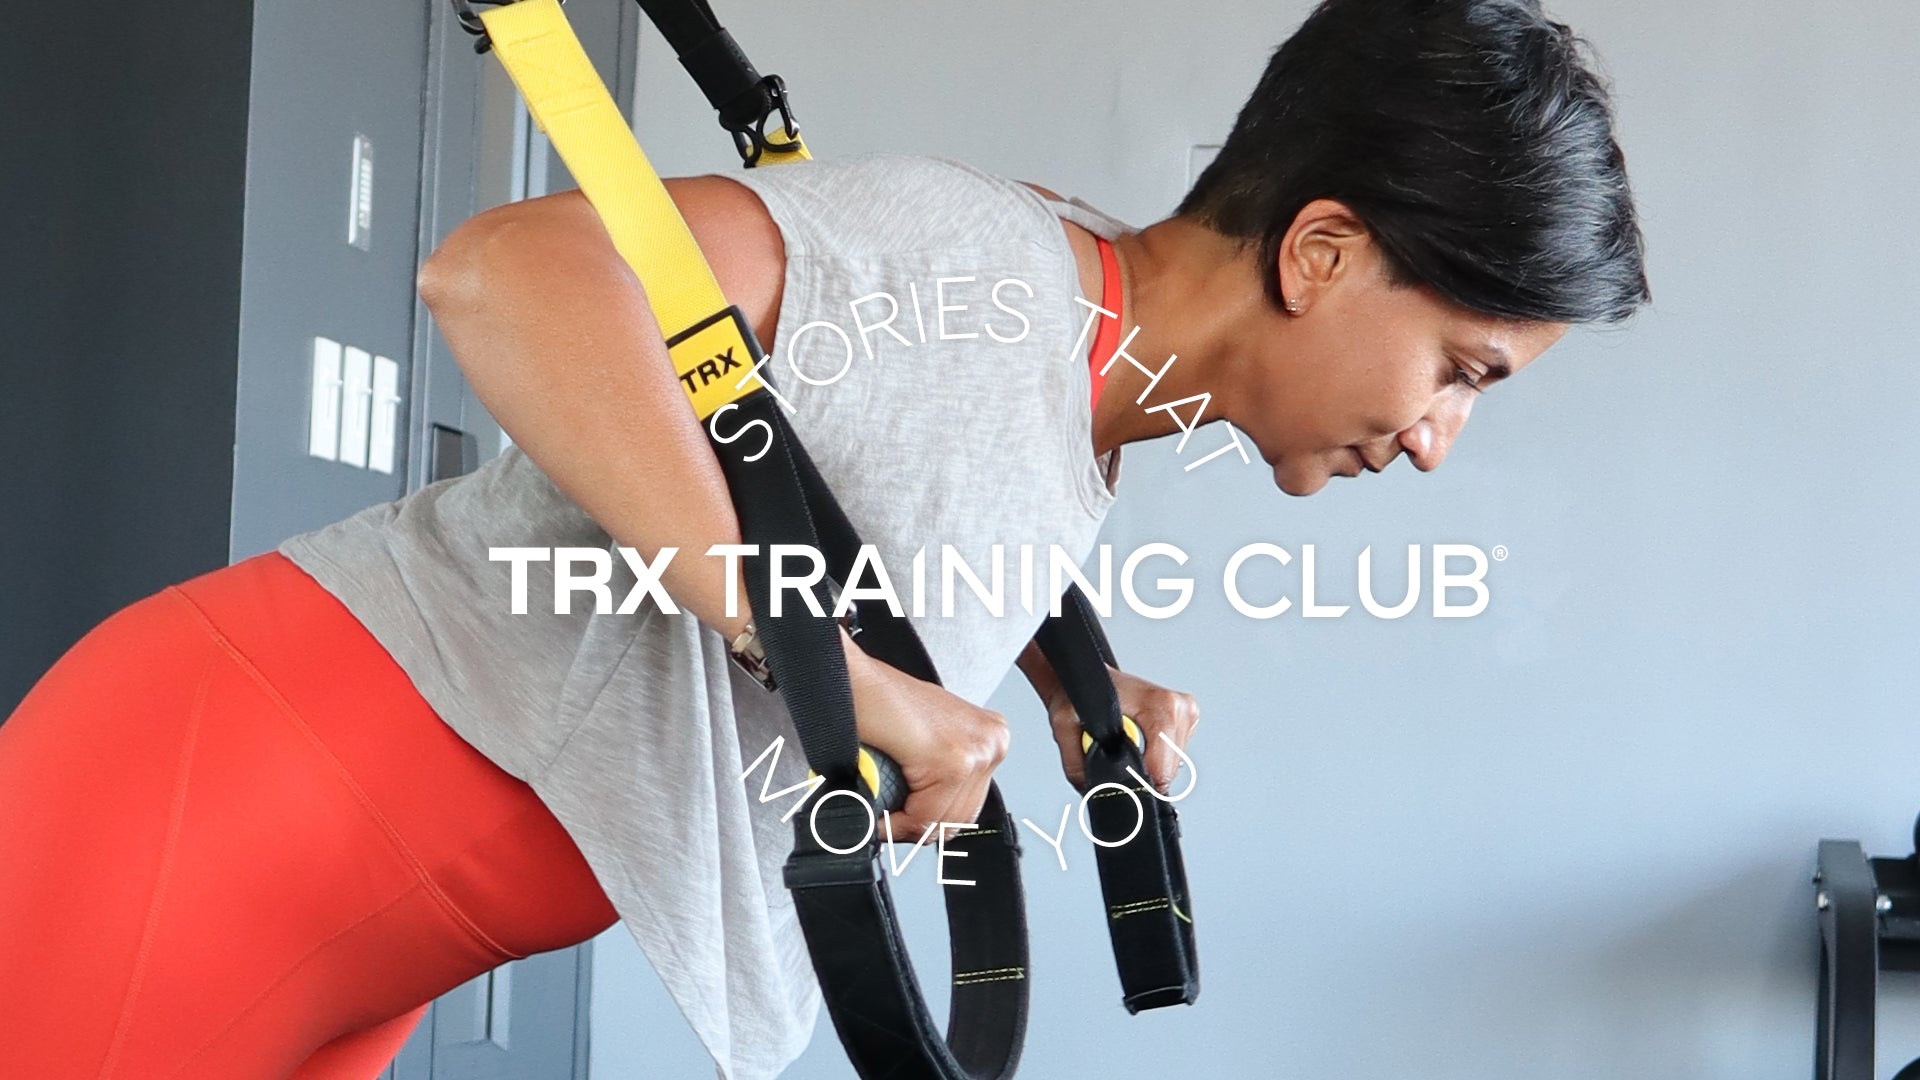
Stories that Move You - Tara
After being diagnosed with a neuromuscular disease at 13, TRX Training Club® trainer Tara Lynn Emerson chose a path of strength.

STMY
STORIES THAT MOVE YOU: "Show up for others, always"
Straightforward and direct, TRX Trainer Marisa just goes for it all the time—with fitness, reading, everything. What inspires her? Knowing she can make a physical and emotional difference for the people she trains.
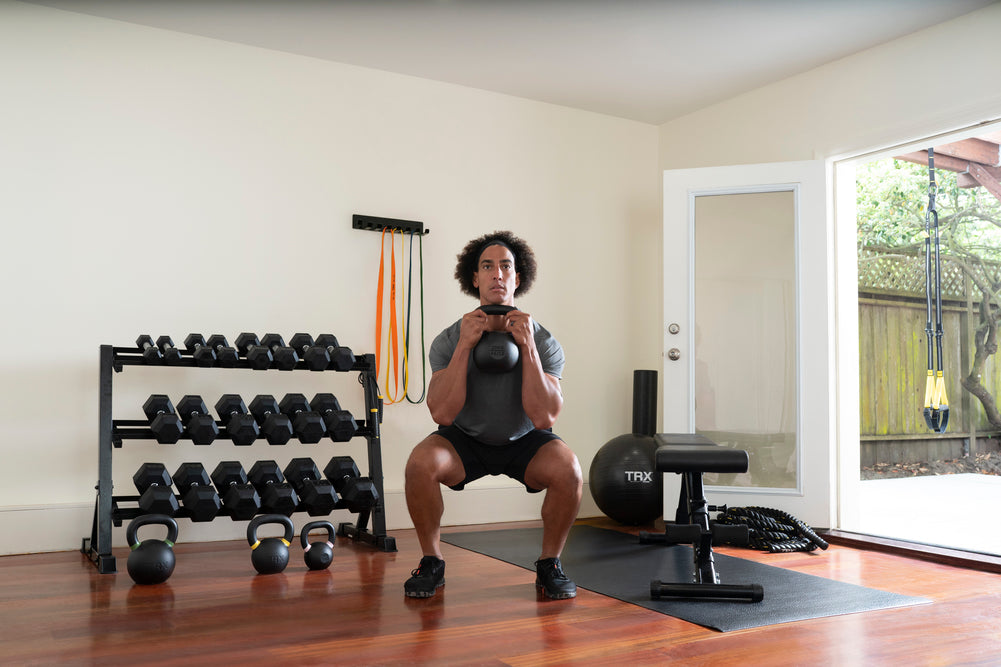
The 4 Best Kettlebell Exercises for Beginners
When you’re looking for ways to begin working with your TRX Gravity Cast Kettlebells, turn to these four beginner moves.
STMY
STORIES THAT MOVE YOU: From frozen shoulder to fit & fierce
After nearly 3 years of surgeries and setbacks, TRX Training Club® member Mary returns to form with a ferociously funny wit and talks to us about injuries, adversity, and strength.
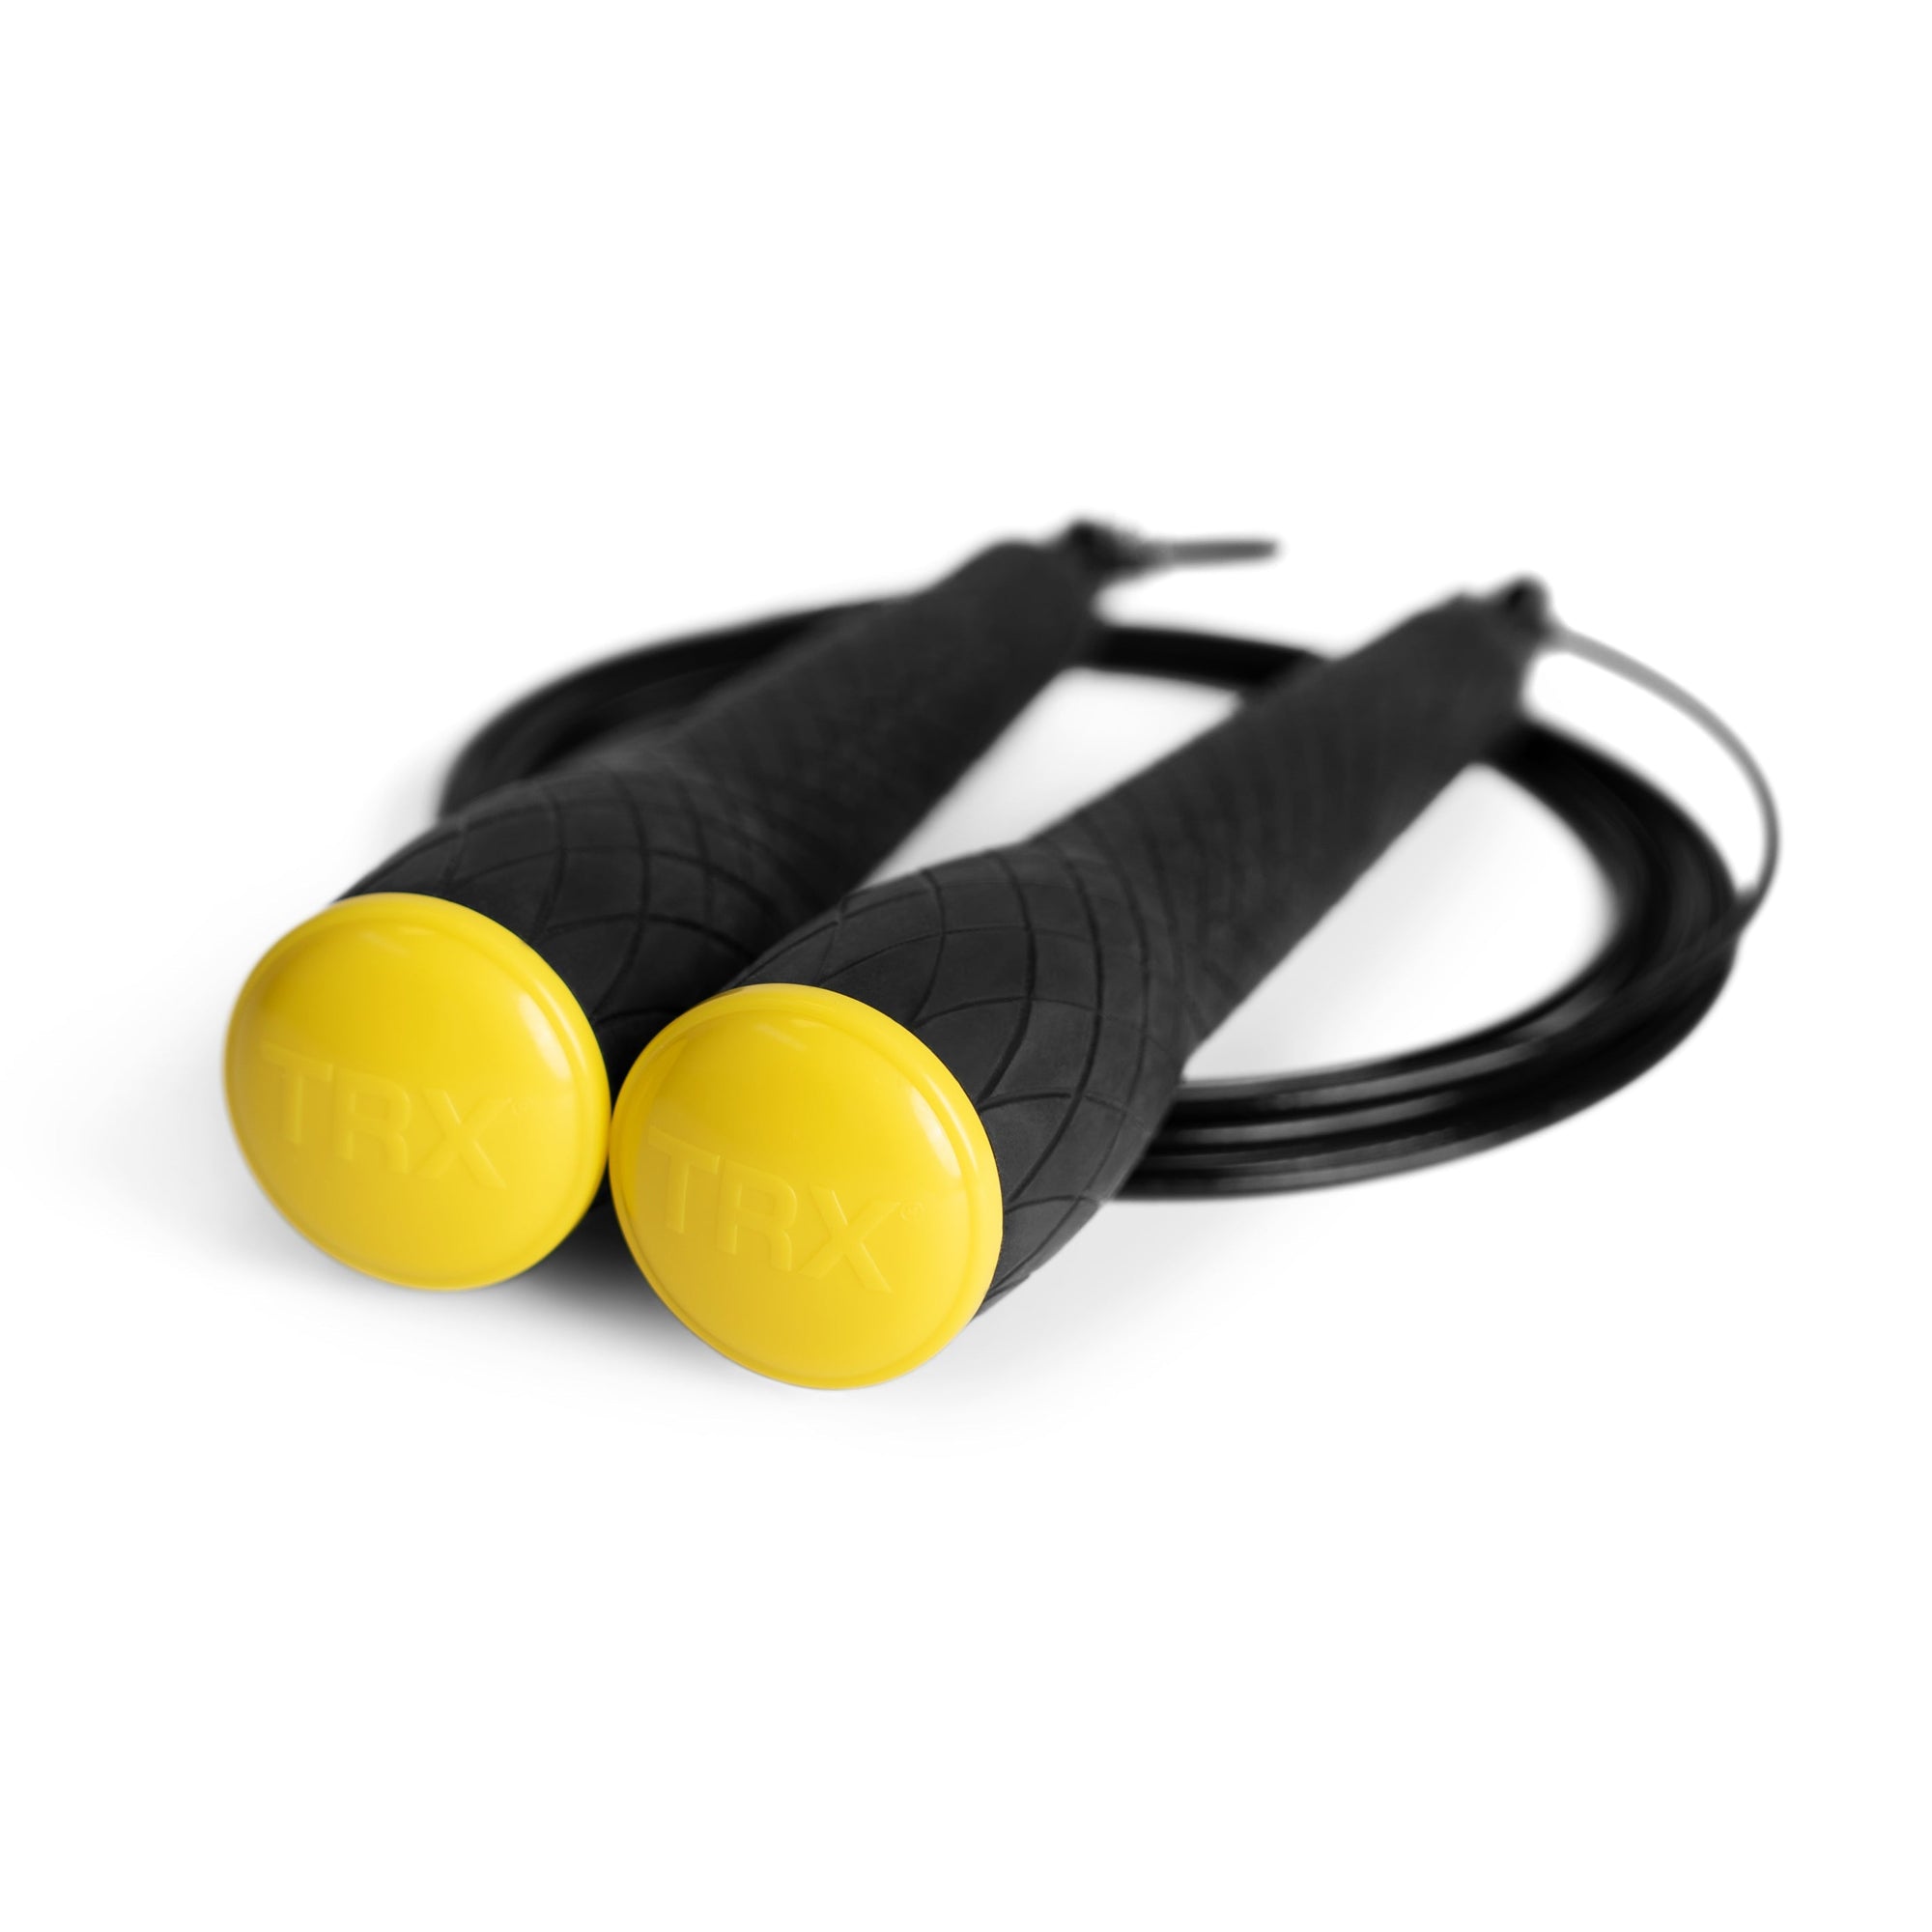
New Gear Drop: 2 New TRX® Jump Ropes and Why You Need Them For Full-Body Workouts
TRX Speed and Weighted Jump Ropes are essential speed training equipment for building foot speed, coordination, and full-body conditioning.
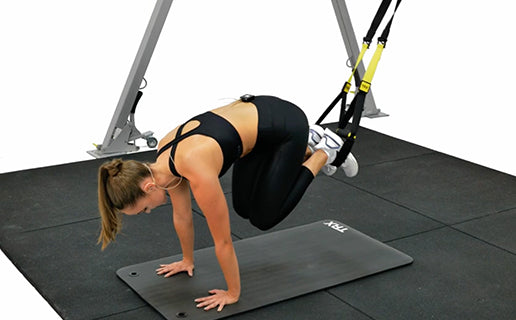
Crush This TRX® Full Body Workout in Just 10 Minutes
We’re always bragging about how the TRX Suspension Trainer™ lets you bring accessible, scaleable workouts wherever you go, and we’re proving it in this free, 10-minute, full-body session with TRX Training Club® Coach Stephanie Warwick.
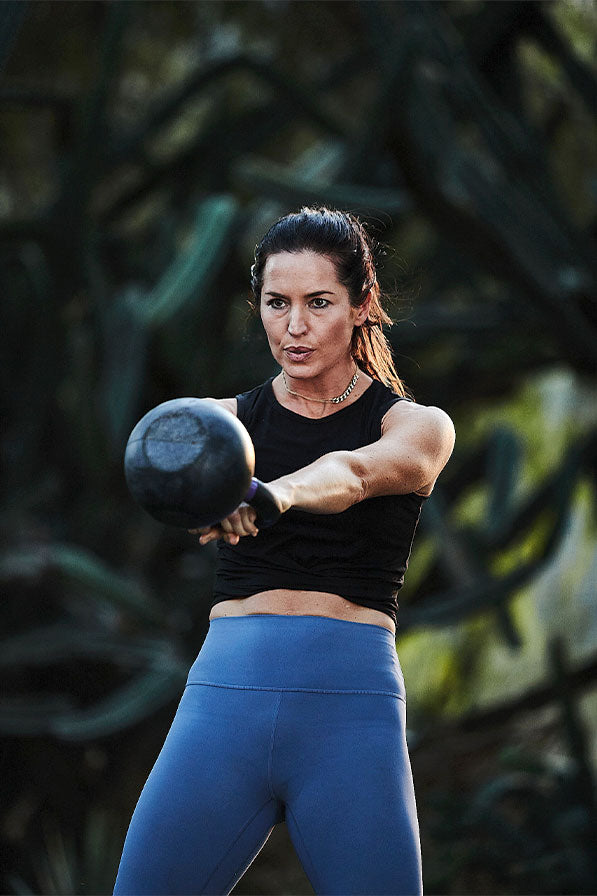
Gear Spotlight: Why Gravity Cast Kettlebells Are Better
The best products come from repetitive testing and obsessive attention to detail. That’s exactly how TRX developed our Gravity Cast Kettlebells.
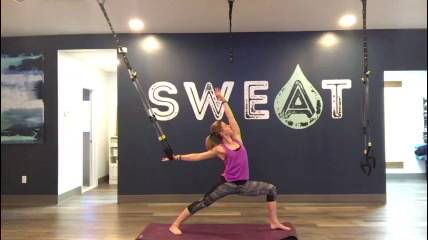
Why TRX for Yoga
TRX Suspension Trainer Tips for Yoga Yoga poses are ancient forms of movement meant to master the body and enhance the body's functions. When exploring a yoga pose using the TRX® Suspension TrainerTM, be clear on the intention of the yoga pose. Not sure which yoga variations are right for your practice level? Take our quick assessment quiz to get personalized pose recommendations and modifications tailored to your flexibility and strength. Leverage the Suspension Trainer to assist in the action of pulling, pushing, lifting, pressing or rotating to create a deeper expression.
TAKE OUR TRAINING QUIZ
TrainerTM incorporated into your yoga practice builds true resilience, improves balance and coordination, increases mobility, develops dynamic postural control and cultivates stress coping mechanisms. It teaches you how to engage and fire up the correct muscles needed to create a fuller expression of a posture. All of this in combination with the (ujjayi) yoga breath creates a meditation in motion that will clear your mind allowing exploration of your true potential.
Once the pose is set up, hold the pose for 3-5 ujjayi breaths. Creating more length and space in the body when you inhale and contracting and getting deeper into the pose when you exhale.
TRX Yoga Flow Rx:
Begin with 3-5 TRX Sun Salutations to prepare your body
Hold each pose for 3-5 Ujjayi breaths
Flow through all poses on your right followed by your left
Repeat the flow if you are looking to explore and get deeper into the muscles
Tips:
Keep tension on the straps at all time
Give yourself a few practices to learn how to leverage the TRX Suspension Trainer for its truest potential
Move from an active plank
Tips on Yoga Breath:
Breathe deeply and mindfully through your nose
Slightly constrict the muscles in the base of your throat to make your breath audible (create the sound of the ocean with your breath)
Inhalations match the length of your exhalations
Inhale to open, expand your body
Exhale to fold, contract, twist your body
Krystal Say is the co-founder of SWEAT Power Yoga and creator of TRX Yoga Flow. She is an advocate for total wellness, with a degree in exercise science and a senior educator for TRX Suspension Training. She is a self-proclaimed adventure seeking, fresh air enthusiast, sneaker lacing trail finder and Power Yogi.