News

TRX Metcon: HIIT With the TRX +1 Challenge
Three TRX exercises will be the only ammo you need to help control your appetite and turn your body into a calorie-burning inferno before you sit down to your holiday meals. The Plus 1 Challenge sequences the TRX Burpee performed on both the right and left leg with the TRX Atomic Push-up to create a simple and devastatingly effective metabolic conditioning program.
The Plus 1 Challenge is a key benchmarking tool in the new TRX FORCE Tactical Conditioning Program, a 12 week progressive program based on thousands of hours spent instructing and working with service members in all branches that will help you achieve your highest level of fitness and durability whatever your current fitness level. You get the entire 12 week FORCE Program in a stunning, ruggedized workout Guide along with two DVDs containing three workout modules and the brand new TRX FORCE Tactical Suspension Trainer 2.0 when you buy the new TRX FORCE Kit: Tactical.
The standard for Plus 1 is that all movements must be executed with good form without resting or stopping between reps. To learn more about mastering perfect form and finding the appropriate level of difficulty for each movement, watch this video about Earning Your Progression.
The video above explains how the Plus 1 Challenge is used to benchmark and measure your progress in the FORCE Program. You’ll follow the same protocol for this workout.
To complete the Challenge, follow these steps:
First, perform the following protocol for the TRX Burpee (LT):
Perform one repetition, rest 10 seconds.
Perform two repetitions, rest 10 seconds.
Perform three repetitions, rest 10 seconds.
Continue this pattern, adding one rep each set until you are unable to complete the required reps continuously with good form.
Rest two minutes and begin the next movement, the TRX Burpee (RT):
Perform one repetition, rest 10 seconds.
Perform two repetitions, rest 10 seconds.
Perform three repetitions, rest 10 seconds.
Rest two minutes and complete the Challenge with the TRX Atomic Push-up:
Perform one repetition, rest 10 seconds.
Perform two repetitions, rest 10 seconds.
Perform three repetitions, rest 10 seconds.
It’s simple, but not easy. During the Plus 1 Challenge, the rest period remains constant while the workload grows so this challenge becomes exponentially more difficult with every set you complete.
Your score for the Challenge is the total of the number of reps you’re able to complete in the final set for each exercise. For example, if your final set for each exercise in the Challenge is 10 reps, your score would be:
10 (reps of TRX Burpee (LT)) + 10 (reps of TRX Burpee (RT)) + 10 (reps of TRX Atomic Push-up)=30.
Get in a movement mastery mindset, bang it out, record your score so you can measure your progress the next time you take the Plus 1 Challenge. And when you’re ready to gobble up more awesome TRX Training programs, set the table for success with the TRX FORCE Kit: Tactical.
TRX Metabolic Conditioning Workout with Coach Dos
Check out this TRX Suspension Trainer, Medicine Ball and Jump Rope Fusion workout, from Coach Dos. Five rounds of punishing strength work on the TRX Suspension Trainer interspersed with cardio.
We can't think of a better way to spend a Saturday than with two of the fitness and conditioning world’s brightest stars: Coach Dos and Alwyn Cosgrove. This dynamic duo is joining forces this weekend at Paseo Club in Valencia, CA to deliver a day of amazing info, training and fun.
Those not familiar with Dos' work are in for a treat today with his long-awaited workout from TRX HQ in San Francisco. This challenging session pushed even our HQ team to their limits. Want a workout tailored to your fitness level? Take our quick assessment quiz for personalized training recommendations. Watch and learn - this is how the pros do work!
TAKE OUR TRAINING QUIZ
Round 11. TRX Push Combo (Push-up, T Fly, Superman)2. Med Ball Rotational Slam3. TRX Push Combo (Push-up, T Fly, Superman)4. Med Ball Rotational Slam5. Jump Rope (1 minute)
Round 21. TRX Biceps Clutch with TRX Biceps Crossing Clutch2. T Push-up3. TRX Biceps Clutch with TRX Biceps Crossing Clutch4. T Push-up5. Jump Rope (1 minute)
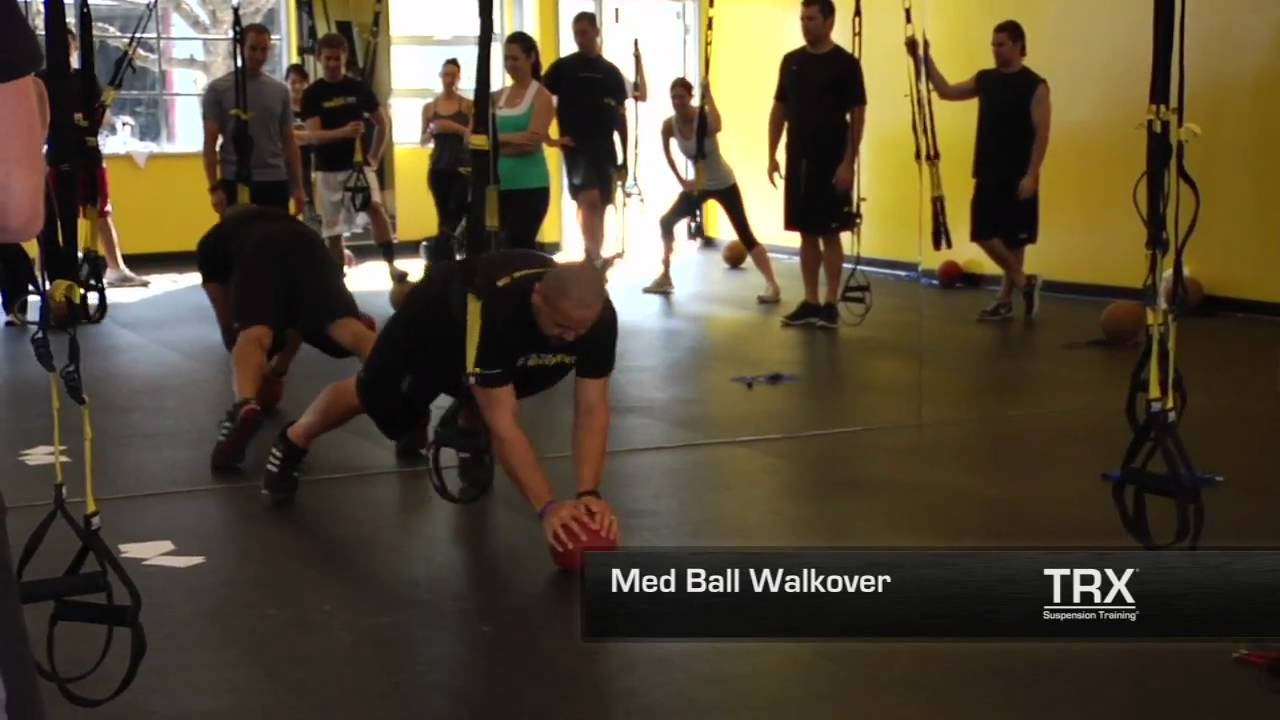
Round 31. TRX Reverse Lunge with Jump Switch2. Med Ball Core Walkover3. TRX Reverse Lunge with Jump Switch4. Med Ball Core Walkover5. Jump Rope (1 minute)
Round 41. TRX Burpee with Jump2. Dive Bomber3. TRX Burpee with Jump4. Dive Bomber5. Jump Rope (1 minute)
Round 51. TRX Grappler Pull/Push Combo2. Med Ball or Sandbag Slam3. TRX Grappler Pull/Push Combo4. Med Ball or Sandbag Slam5. Jump Rope (1 minute)
For more metabolic conditioning or HIIT workouts, click here.
TRX Medicine Ball Workout
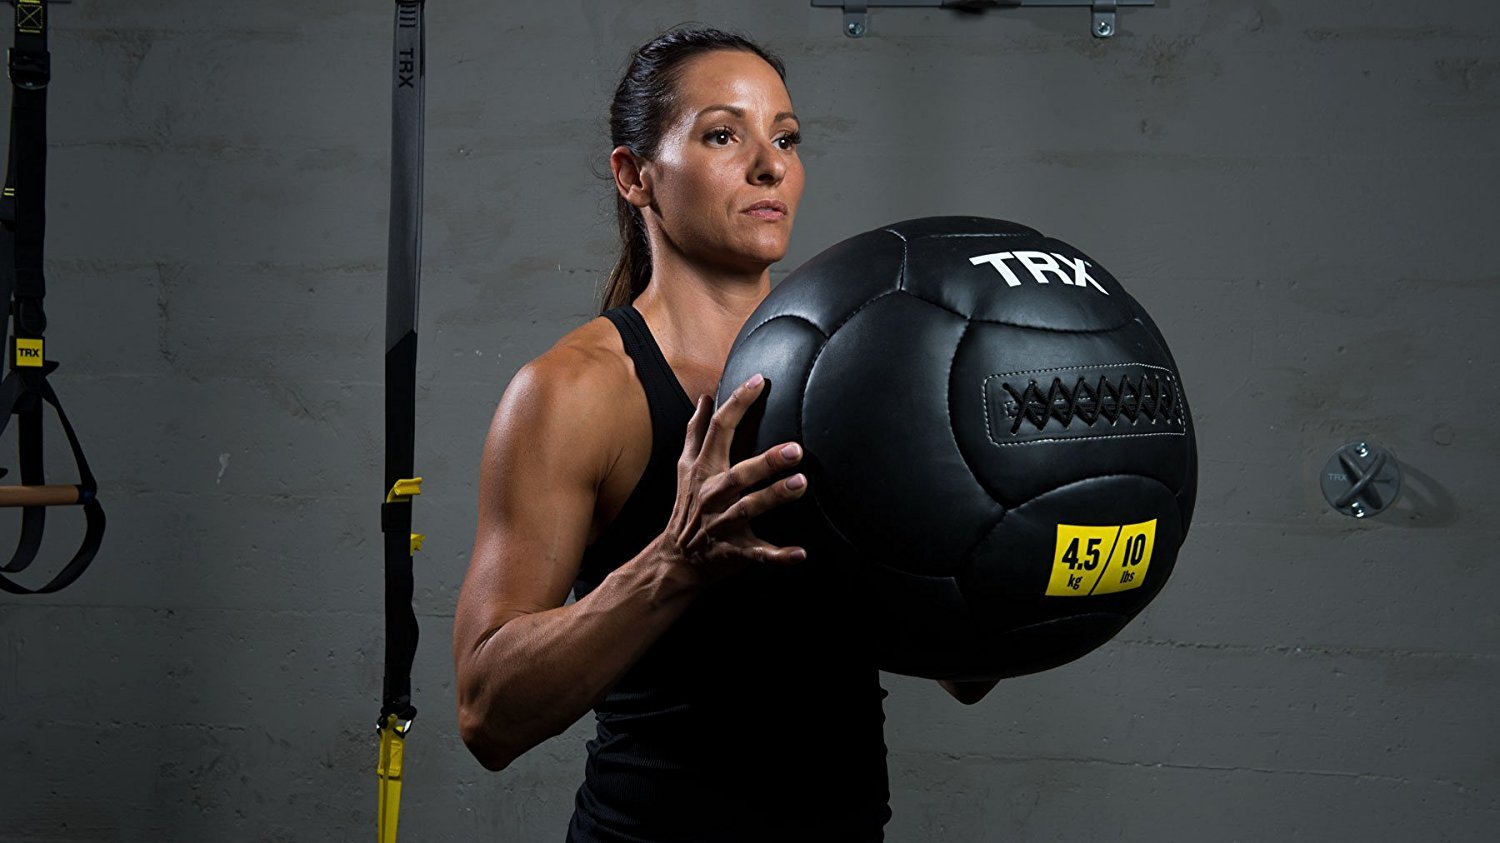
When it comes to innovation on the TRX Suspension Trainer, we know we can always count on strength coach Doug Balzarini. Here are four TRX movements Doug came up with that involve both the TRX and a medicine ball. As Doug states in the clip, these are NOT typical, weekly movements. Use these exercises when you want to mix things up a bit. They are not recommended for the majority of clients as they are fairly advanced. All of these exercises will really challenge your stability from feet to fingertips!
Want to learn the perfect form for these movements? Take our quick assessment quiz to get personalized technique tips. Here is a brief breakdown on the four exercises:
TAKE OUR TRAINING QUIZ
1. TRX Medicine Ball Push-up
With your feet in the cradles and your spine neutral, carefully place your hands on a firm medicine ball and perform your push-ups in a controlled manner.
2. TRX Medicine Ball BurpeeWith one foot in the TRX, hold a medicine ball and perform a traditional TRX Burpee. Keeping a firm grip on the ball during the push-up portion of the burpee will increase the stability challenge of an already difficult exercise.
3. TRX Medicine Ball LungeAdding a medicine ball to the TRX Lunge, you can now include many additional movements to challenge your balance. Exercises include med ball slams, med ball chops and med ball rotations.
4. TRX Hip Press w/Medicine Ball PerturbationsDoug loves using this exercise with his MMA athletes due to the demands of their sport. They require a great deal of strength and endurance in the hips and glutes, and this exercise targets the area nicely. A great exercise when performed with just the TRX, add the medicine ball in the hands and have a partner try to take the ball or move the ball in order to really engage your shoulders and trunk.
Have you incorporated a medicine ball into your TRX workouts? Tell us about it below.
Doug Balzarini has been in the fitness industry for the past 14 years. He is originally from Massachusetts where he earned his undergraduate degree in exercise physiology and had his first personal training job. He moved to San Diego in 2000 and worked for the American Council on Exercise (ACE) for five years before starting his career at Fitness Quest 10 as a personal trainer and strength coach. He was there from 2005 to 2011 and worked with clients of all ages and abilities. Doug is the strength coach for Alliance MMA in Chula Vista, California and creator of DBStrength.com.
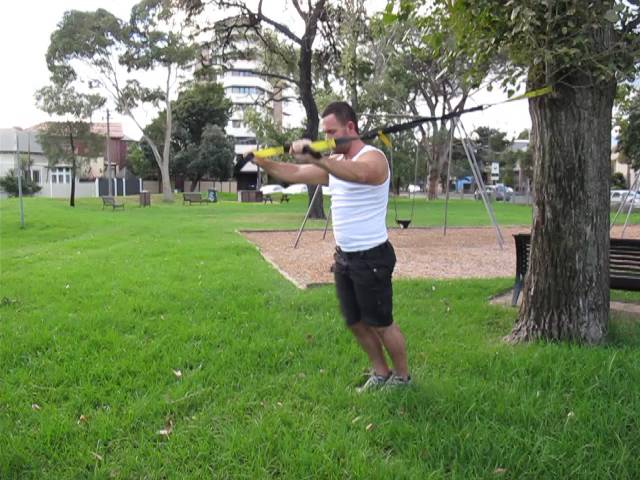
TRX Lunge Exercises
Check out all of these variations on the TRX Lunge so you can get the most out of your TRX lower body workouts. Want to find the perfect lunge variations for your fitness level? Take our quick assessment quiz to get a customized leg workout plan. The TRX Lunge is a must for anyone who wants to improve his lower limb strength, endurance, balance and overall function. The movement is a great functional exercise that works the foot/ankle, knee and hip joints but also the associated muscles, ligaments and tendons.
TAKE OUR TRAINING QUIZ
While the typically prescribed gym-based lunge is performed anteriorly in the sagittal plane, there are a multitude of variations of the lunge that should be trained in addition to this.
Normal walking gait is one version of a lunge, and there are many other movements we perform in daily life that also replicate a lunging movement. Therefore, the TRX Lunge is one exercise that should be built into any workout program. While the primary movement observed in an anterior lunge is flexion/extension of the foot/ankle, knee and hip in the sagittal plane, each of these joints is capable and requires movement in the frontal and transverse planes. Often, I have observed in the clinical environment that a loss of movement or limitation of the joints to perform in these planes of movement will cause a predisposition for joint injuries. By varying the lunge to incorporate all planes of movement through bottom up drivers (the foot) and top down drivers (the trunk), you can greatly enhance function and reduce the likelihood of injury.
Sagittal Plane Lunges
Anterior Lunge with Sagittal Plane Focus* (above)
Anterior Lunge with Frontal Plane Focus (below)
Anterior Lunge with Transverse Plane Focus (below)
Frontal Plane Lunges
Lateral Lunge with Frontal Plane Focus (below)
Lateral Lunge with Sagittal Plane Focus (below)
Transverse Plane Lunge
Transverse Lunge with Same Side Rotation (below)
Using the TRX while performing lunges results in some unique benefits. Lunging around the fixed point with arms overhead creates core activation and causes thoracic extension. We end up decelerating this extension by activating the abdominal complex, which is an extremely functional pattern. Arm movement with the lunge also serves to promote shoulder mobility, so the TRX Lunge truly becomes a total body exercise, more so than traditional lunges.
These are just some of the many variations of lunges you can perform using the TRX. Try creating your own matrix of lunges... your legs and glutes will certainly thank you for it!
Heath Williams is an Osteopath with a special interest in exercise and rehabilitation. He is a current lecturer in Osteopathy at Victoria University and also works in private practice in Melbourne, Australia. Heath is also a regular contributor to numerous health and fitness publications worldwide.
*EDITOR'S NOTE: To anchor your TRX around a tree trunk, you'll need the TRX Xtender.

TRX Lunge
An incredibly functional exercise that targets single leg strength, a key component for improving speed, balance and injury prevention.
Fraser Quelch is Director of Training and Development for TRX. He is also a featured fitness author and a competitive ironman triathlete.
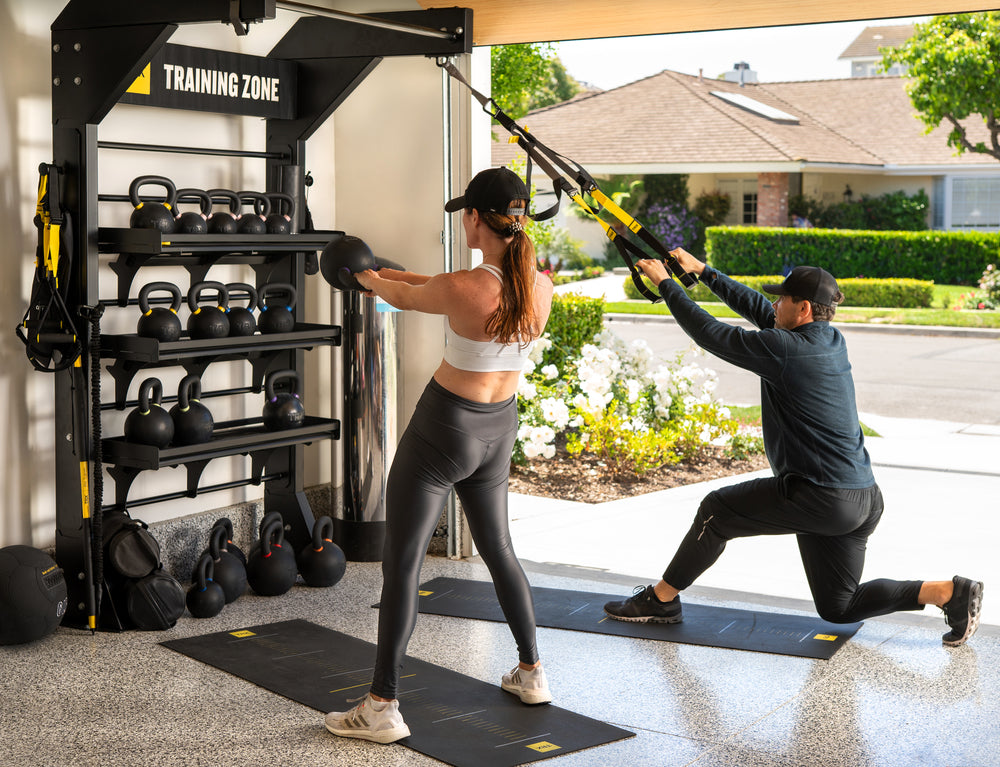
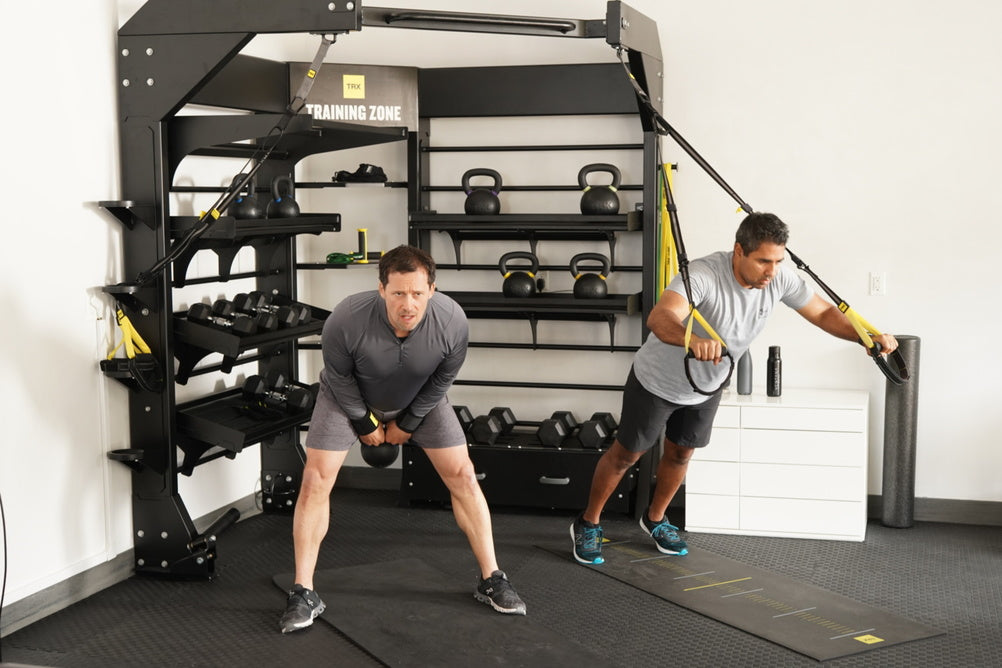
TRX Kettlebell Fusion Workout
Get ready to sweat with the TRX-Kettlebell Fusion Workout. This high-intensity routine combines TRX suspension training and kettlebell exercises to push your body to the limit.
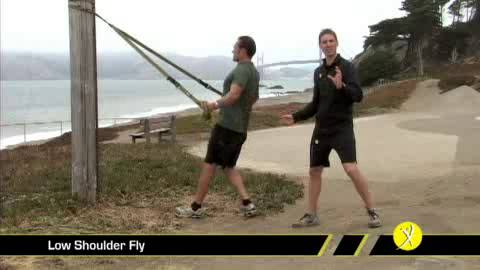
TRX Low Deltoid Fly
The TRX Low Deltoid Fly demands strength and stability of the posterior deltoids and upper back, shown here with Fraser Quelch and Randy Hetrick. Fraser Quelch is Director of Training and Development for TRX. He is also a featured fitness author and a competitive ironman triathlete.
TRX & Kettlebell Fusion Workout for Functional Strength
Increase your functional strength with this TRX Kettlebell Fusion Workout. This full-body routine will challenge your muscles and elevate your fitness routine.

TRX Inversions: Learn the Move
There are so many benefits to performing yoga inversions and adding them to your practice. Aside from the expected physical benefits, inversions are said to improve brain function, release endorphins, alter your blood flow, and balance your hormones. Despite their benefits, inversions are still notoriously challenging. But we can't think of a better way to challenge yourself than by using a TRX Suspension Trainer to complete a full inversion—and not only will it challenge you, but it will also help you ease into the move! Whether it's a supported shoulder stand, legs up the wall, or even downward-facing dog, you are sure to be in for a fun time. After all, who doesn't love to have fun while working up a sweat?
Learn the do's, don'ts, tips, and tricks of TRX headstands and handstands from London-based TRX On Demand Instructors Niko Algieri and Jay Brockway as they up the ante using their TRX Suspension Trainer. Do you think you've mastered the art of the TRX Inversions? We would love to see your moves! Join the fun by using the hashtag #TRXforFUN on Instagram and enter for the chance to win the ultimate TRX Prize Pack.