News
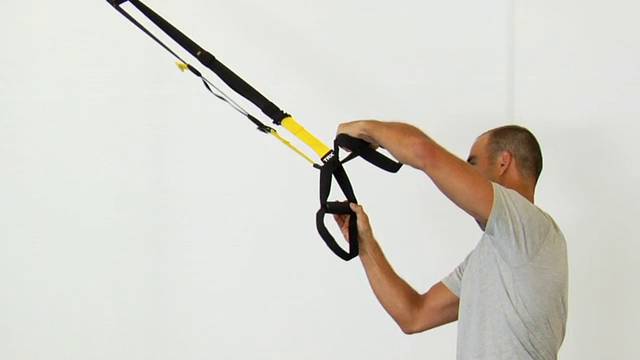
Single Handle Mode
Looking to up the ante with your TRX Suspended Planks, TRX Power Pulls, and TRX for Yoga poses? Before watching the video on Single-Handle Mode setup, take our quick form assessment quiz for personalized tips on advancing these moves safely. Working in Single-Handle Mode allows one limb (either arm or leg) to be suspended while the other limb is free. Training in Single-Handle Mode helps build stability in yoga poses such as TRX Dancer Pose and allows you to resist rotation in exercises like the TRX Single Arm Row. Properly placing the TRX Suspension Trainer in Single-Handle Mode is key to training both safely and confidently. Watch this video to learn how
TAKE OUR TRAINING QUIZ
Short Circuits Part 3 - Getting The Most Out Of Your Training (On Busy Days) with Intentional, High Quality Workouts
This is the third article of a three part series aimed to maximize your workout with the minimal time we each have in our days with today’s demanding lifestyles.
If you missed Part 1 of this series, where we discussed the art of ‘choosing wisely’ and the importance of exercise selection and sequences in yours or your clients workout, check it out here. Then in Part 2 we discussed tempo and weekly scheduling.
The next step to consider when building your short circuits is to...
4) "Be Consistent, Not Heroic"
Even the most highly motivated people have days when they don’t feel like exercising or when their calendar is particularly jam-packed. We feel you, but don’t skip these sessions! Instead, shorten your warm-up and use your first couple of sets on the Suspension Trainer to ease into your workout with full range of motion and low velocity in unloaded or lightly loaded movements. Once you get going, you’ll likely want to do more. If so, finish your planned exercises and then do some extra accessory exercises like bicep curls or Y-to-T flys, or some mobilizations that target the main muscle groups you just worked. The key is making sure you do something deliberate and high quality multiple days a week, even when you feel like doing nothing. As our good friend and co-creator of the TRX Duo Trainer Dr. Kelly Starrett often says, “Be consistent, not heroic.”
Try out this sample Short Circuit, and start implementing these principles today!
Forward Lunge w/ Y-Fly x 10 (alternating legs)
Squat Row x 10
Chest Press x 10
Lateral Lunge x 10 (alternating sides)
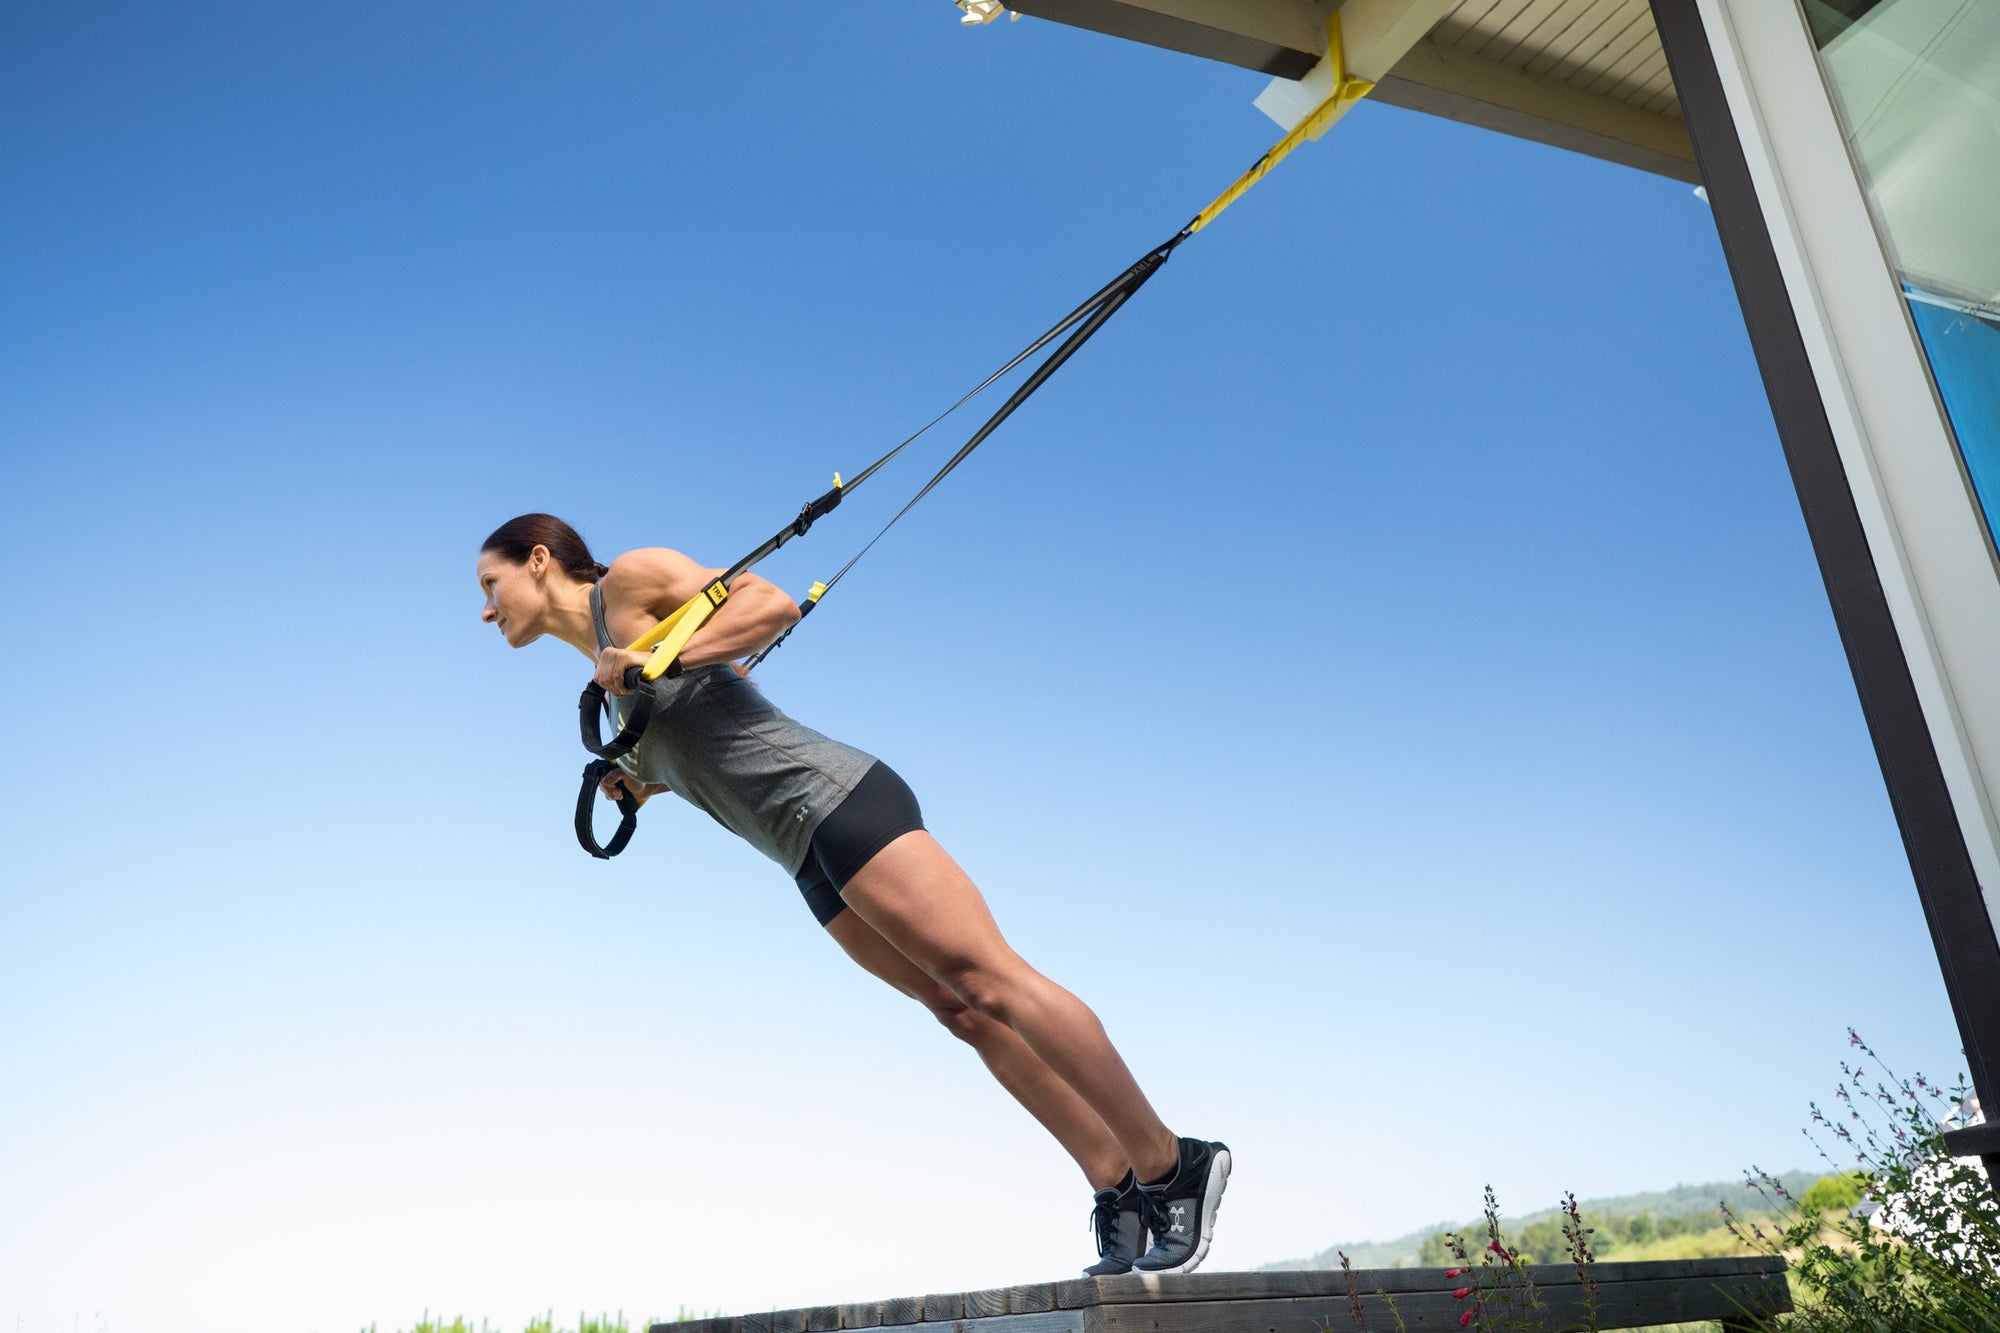
PowerPull x 10 each arm
Atomic Push-up x 10
Hamstring Curl x 10
Side Plank 4x10s hold each side
Want to learn more about being an effective Coach? Get started with TRX Professional Education. If you've already crushed the TRX Education Journey and you're ready to dive into exercise selection, sequencing, and programming, check out the TRX Advanced Group Training Course - TRX Advanced Group Training.

Setting Up Your TRX S-Frame for Functional Training
Architects have an axiom: form follows function, meaning the design of a structure should be determined by its purpose. The TRX S-Frame is designed to be exactly that, a place where you and your clients or athletes can indulge in functional training in its truest sense.
Whether you train indoors or out, there are a variety of ways to set up your TRX S-Frame as a complete functional training zone for exercises specific to daily activities. In this video, we show seven stations at Park Road Fitness in Burlingame, California, including two TRX stations and five additional setups. Want a customized S-Frame workout plan? Take our quick assessment quiz to get training recommendations tailored to your goals and space constraints.
TAKE OUR TRAINING QUIZ
Station 1 - TRX Mountain ClimbersStation 2 - Battling RopesStation 3 - DipsStation 4 - KettlebellsStation 5 - Heavy BagStation 6 - Pull-upsStation 7 - TRX Atomic Push-ups and TRX Overhead Squats
If you’re working in a group or boot camp setting, divide your athletes into small groups and have them cycle through the above stations in a circuit. You can also train individual clients or athletes on the TRX S-Frame, simply by having him or her move from one station to the next in the prescribed amount of time.
The above video illustrates just a few of the ways you can create a functional training space with the TRX S-Frame; the options are endless.
“We utilize the TRX Suspension Frame in so many ways, whether it is with the TRX Suspension Trainers, heavy bag, arm slings, tubing and more,” says William Hanson, owner of Aspire Fitness Studios in Cleveland, Ohio. “We use the S-Frame in nearly every training session we have.”
Other facilities that have purchased a TRX S-Frame are truly putting it to the test with their hardest-hitting athletes.
“Our professional hockey players love to perform hockey-specific drills on our 30-foot giant TRX S-Frame,” says Noel Morgan from Fitness 4 Success, Inc in Vaughan, Ontario, Canada. “Putting the TRX into single handle mode, hockey players are able to work unilaterally on the mechanics of shooting and stick handling, while improving their core strength, coordination and balance. The S-Frame is a terrific compliment to our program and facility.”
“The S-Frame is the bomb!” says Josh Hubby from P4L Fitness in Murrieta, California. “Not only does it look sweet and add a unique character to our facility, it also allows us to do all the TRX work plus use bands and full body exercises on it. It is very functional for group and private training sessions. The exercises on it are so dynamic and challenging, even for the most experienced exercisers.”
Special thanks to Park Road Fitness, located in Burlingame, California. For more on their facility, including a schedule of their upcoming TRX classes, visit www.parkroadfitness.com. If you want to find out more, please contact your TRX sales rep by phone at 888-878-5348.

Rip Training: Principles of Progression
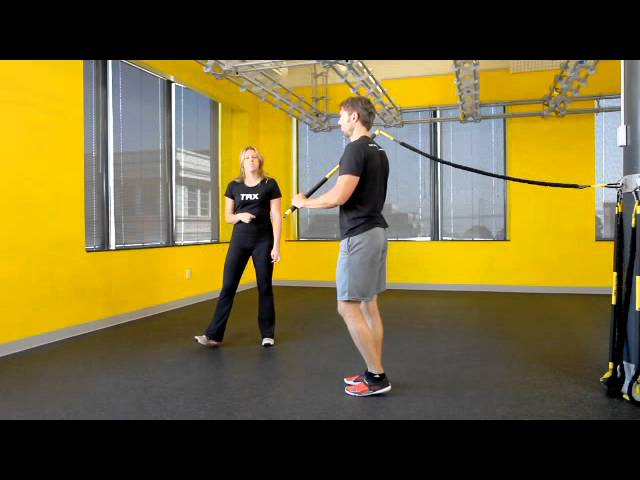
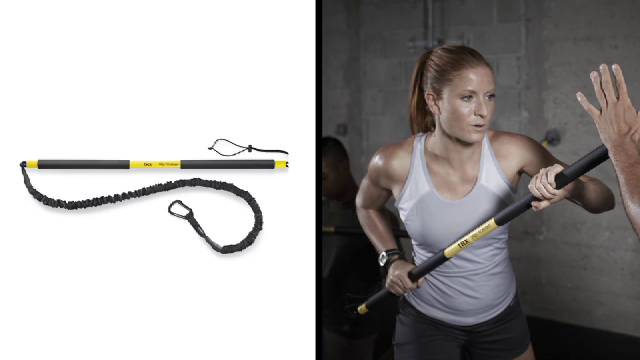
Pete Holman, creator of the Rip Trainer, is back to show you how to maximize your Rip Training workouts with three exercises that map to the three principles of progression we use for Rip Training: Stability, Vector Resistance and Elastic Resistance.
You'll probably recognize two of these as the very same principles that govern Suspension Training, highlighting why these two modalites are so complementary.
In the video above, you'll learn a three exercise sequence, with each exercise illustrating one of the principles of progression:
Rip Press (Stability Principle)
Rip Pitchfork (Vector Resistance)
Rip Strike (Elastic Resistance)
This is a great sequence for you to try at home targeting the anterior chain, the posterior chain and the lateral stabilizers. Stay tuned for subsequent blogs in which we’ll break down each one of these exercises and principles in further depth so you and your clients can take your Rip Training workouts to another level.
Get your TRX Rip Trainer.

Rip Training Interval Workout with BJ Gaddour
BJ Gaddour was at TRX HQ recently to show us some metabolic work using the TRX Suspension Trainer including ladders, circuits, complexes, density training and Tabatas (watch this space for more from him in these areas). An expert on fitness boot camp program design, BJ knows his stuff and kicked our butts. But we had a little treat in store for him as well: an introduction to the Rip Trainer and a 15-minute demo with creator Pete Holman.
"Pete really impressed me with what I think is safe to say is the best new core training tool around," said BJ. "I went to my hotel room that same day and immediately cranked out an unbelievable metabolic circuit using my new Rip Trainer."
Since then, BJ has been playing around with a lot of workouts using the Rip Trainer, and one of his favorites is shown here, the Mad Minute Complex:
Here is a breakdown of the exercises:
Complex #1:1-Rip Trainer Squat to High Row2-Rip Trainer Rotational Single Arm Chest Press3-Rip Trainer Chest Press
Complex #2:1-Rip Trainer Slapshot2-Rip Trainer Axe Chop3-Rip Trainer Overhead Triceps Extension
Complex #3:1-Rip Trainer Squat to Low Row2-Rip Trainer Squat Jump to Overhead Press3-Rip Trainer Alternating Forward Lunge with Chest Press
BJ Gaddour, CSCS, is the co-creator and fitness director for Workout Muse. He is a fitness bootcamp and metabolic training expert who regularly contributes to Men's Health, MSN Fitbie and various other media outlets. For more from Workout Muse, be sure to check out their best-selling app, iWorkout Muse PRO for the iPhone and iPod Touch, which allows you to build custom interval training soundtracks mixed to your favorite music.
Set Up and Use for the TRX Suspension Trainer
TRX Training
Rip Training: Metabolic Conditioning Workout
Check out this epic Rip Training metabolic blast, brought to you by TRX Programming Manager Liana Hughes and TRX Content Writer Andrew Vontz. This sweet bite-sized chipper is sure to get you sweating away that stuffing in no time. Grab your Rip Trainer and get after this total body high intensity interval workout.
One round consists of as many reps possible in 30 seconds of each of the following exercises:
Rip Lunge Press
Rip Squat Row
Rip Overhead Ax Chop
Recover for one minute and then repeat. Try to shoot for the same number of reps on both sides. One round with recovery should take you four minutes. We recommend doing three rounds, but feel free to do more or less depending on your fitness and time constraints. Remember, this is high intensity interval training, which means each round should be a short all-out effort, and the full workout should not take too much time. Get it in where you can fit it in!
Get your TRX Rip Trainer here.
Rip Training for Wrestlers, Fighters, and Martial Artists
Wrestling coach Chad Parks tells his athletes, “In hand-to-hand combat sports, you have to be strong in weird positions.” Translation: hand-to-hand combat athletes have to be able to bend and twist their bodies and still be able to move another person’s body around, all while resisting him. With the TRX Rip Trainer, Chad and his athletes are able to incorporate “weird positions” into their strength training that simulate positions they might get into during hand-to-hand combat.
“The Rip Trainer allows us to add in a new type of strength and conditioning during our wrestling training,” says Chad. “These two workouts mesh together seamlessly.”
The Rip Trainer also allows Chad to train his athletes on another unique combination that exists in hand-to-hand combat sports: dynamic strength and static holds. In hand-to-hand combat, an athlete might explode into a dynamic throw and then have to hold a person in a static position to gain control of him. “This unique sport combination has traditionally been difficult to train from a strength and conditioning perspective,” says Chad. Outside of training a specific sporting drill, there are not a lot of options to train dynamic movements with resistance and then a static hold immediately after, all with one piece of equipment. This factor gets even harder to train when you add transverse movements into the equation.
In this video, Chad and some of his athletes from Shawnee Heights High School in Tecumseh, Kansas demonstrate some Rip Trainer movements that benefit the strength and conditioning needs of hand-to-hand combat athletes.
The Rip Trainer Punch allows an athlete to strike while experiencing resistance forces against the striking arm. This allows the athlete to work explosion with rotational resistance, while learning to rotate his hip for more power and better form.
The Rip Trainer Step Back Throw allows an athlete to feel resistance throughout a wrestling/judo style of throw. The Rip Trainer Step Back Throw also allows the athlete to complete the throwing motion with resistance while using footwork in the process. This is a complex movement and will increase a hand-to-hand combat athlete’s dynamic power in the throwing motion.
The Rip Trainer Sweep is another exercise Chad has created specifically for ground work used in Jiu Jitsu or MMA. Many times, a hand-to-hand combat athlete is on his back and trying to sweep an opponent. Many sweeps are executed with no arms or legs having any ground contact. Yet, the athlete must create enough force or transfer an opponent’s force in order to sweep him over. The Rip Trainer Sweep allows an athlete to work on creating force from his back with his limbs in the air. He also has to pull against the Rip Trainer bungee and explode through the sweeping motion. This exercise engages every core muscle and moves from a static position directly into a dynamic movement with resistance.
The Rip Trainer Chest Press, followed directly by the Rip Trainer Row, is a great combination movement that, completed in short durations at a high intensity, will test even the best conditioned athletes. For this exercise, Chad has connected both sides of the Rip Trainer to create these explosive bilateral exercises that allow his athletes to simultaneously build strength, endurance and power. He also uses the bilateral position to train leg strength and develop muscle memory for knee strikes.
“TRX has allowed me and my athletes to take our training to the next level,” says Chad. “We use the TRX Suspension Trainer and the TRX Rip Trainer at least three days per week to improve our strength and conditioning and our hand-to-hand combat sporting abilities. If you are a hand-to-hand combat athlete and haven’t added TRX to your training, you are missing out!”
For more on the TRX Rip Trainer, click here.
Chad Parks is the head wrestling coach at Shawnee Heights High School in Tecumseh, Kansas. This son of a National Hall of Fame wrestling coach has over 25 years of combined wrestling experience to include both active competition and coaching at both the college and high school levels. He instructs at wrestling clinics throughout the Midwest.
Rip Training for Basketball
Improve your basketball game with this TRX Rip Training workout from inventor of the Rip Trainer Pete Holman, as featured on Stack.
Basketball players are fast, explosive athletes–which is why so many can dunk the ball effortlessly, or quickly weave through defenders and drive to the net. The downside? Players can hurt themselves in the process. All of that jumping and changing direction takes a toll on the body.
Traditional weight room workouts can make you stronger, but they don’t necessarily make you more durable. That’s why the TRX Rip Trainer is an excellent piece of equipment to have in your training toolbox as a basketball player. Rip Trainer exercises can mirror the way your body moves on the court, making you more able to handle the demands of practices and games.
By placing an uneven load on one side of your body, the Rip Trainer adds a core strength and stability component to the moves, which can help you be stronger and more balanced on the hardwood. The added core strength makes you less likely to sustain injuries that can occur from getting knocked around, losing your balance or general wear and tear.
Try this three-exercise Rip Training workout to become a better and more durable basketball player:
Rip Lateral Step Row (10-15 reps on each side)
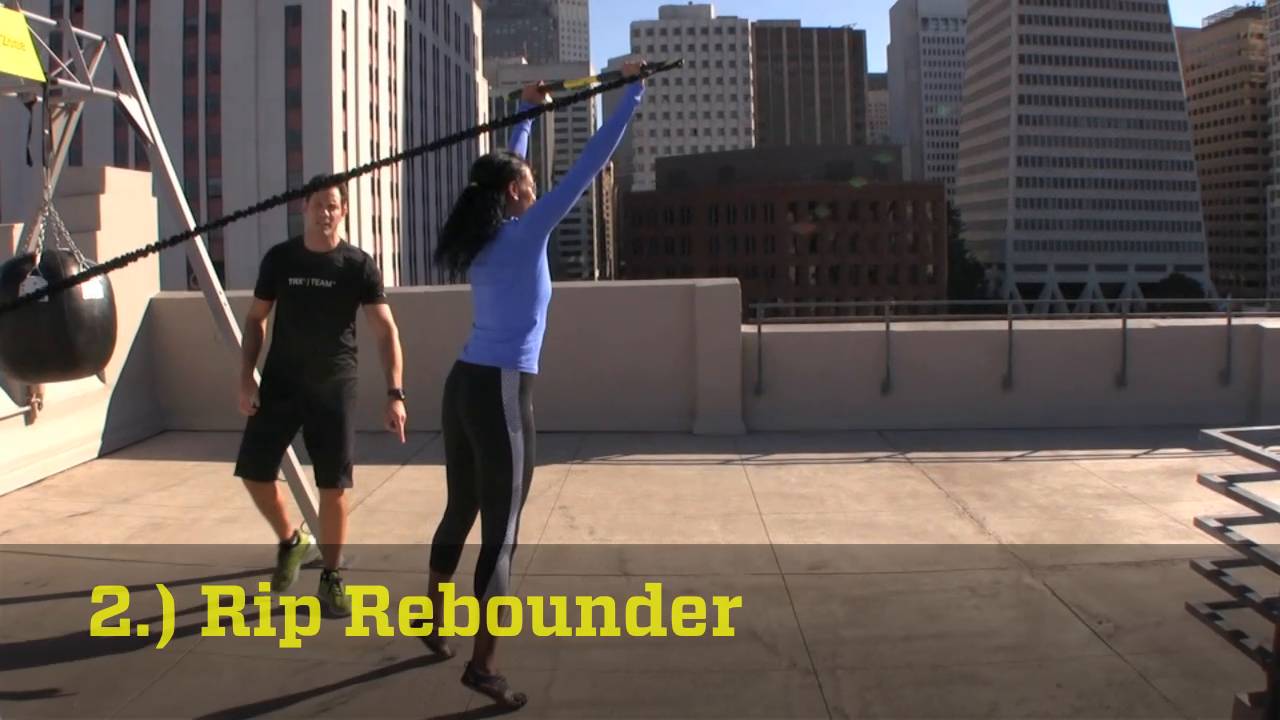
Rip Rebounder (10-15 reps on each side)
Rip Skater (10-15 reps on each side)
Perform 2-3 sets of each exercise.
Here is an in depth look at the specific benefits of each exercise:
Rip Lateral Step Row
This move helps you develop a low, wide base of support and core strength that’s essential for establishing your position in the paint. The Rip Trainer’s unbalanced load forces you to work on balance and stability, so opponents can't knock you off the ball or out of position. To increase the challenge, step further away from the anchor or increase cadence between reps.
Rip Rebounder
Basketball is a game of rebounds and jump shots, so your ability to get vertical can make or break your success on the court. The Rip Rebounder can help increase your jumping power, while the unbalanced load simulates being pushed and shoved when going up for a rebound, jump shot or dunk. For an increased metabolic challenge, see how many reps you can complete in 30 to 45 seconds.
Rip Skater
Ballers need the ability to decelerate and change direction quickly. These skills make you elusive on offense and enable you to provide blanket-like coverage on defense. The Rip Skater improves your change-of-direction quickness while also reinforcing your body against injuries like ankle sprains. The move also requires core strength, so keep those abs engaged throughout. For an increased challenge, extend your arms away from your chest.
If you don't yet have a TRX Rip Trainer, get yours today here.